Configuration
Google Authentication
Enable Google OAuth login for students and instructors in Mentor LMS.
Enabling Google Authentication allows users to sign up and log in using their Google accounts.
Accessing Google Auth Settings
- Log in to your admin dashboard
- Navigate to Settings → Social Login Settings
Setting Up Google OAuth
Step 1: Create a Google Cloud Project
- Go to Google Cloud Console
- Click project dropdown → New Project
- Enter a name and click Create
- Select your new project
Step 2: Configure the OAuth Consent Screen
- Navigate to APIs & Services → OAuth consent screen
- Select External user type
- Fill in App name, User support email, and Developer contact information
- Add scopes:
emailandprofile - Add test users if in testing mode
Step 3: Create OAuth Credentials
- Navigate to APIs & Services → Credentials
- Click Create Credentials → OAuth client ID
- Select Web application
- Add authorized JavaScript origins:
https://your-domain.com - Add authorized redirect URI:
https://your-domain.com/auth/google/callback - Click Create and save the Client ID and Client Secret
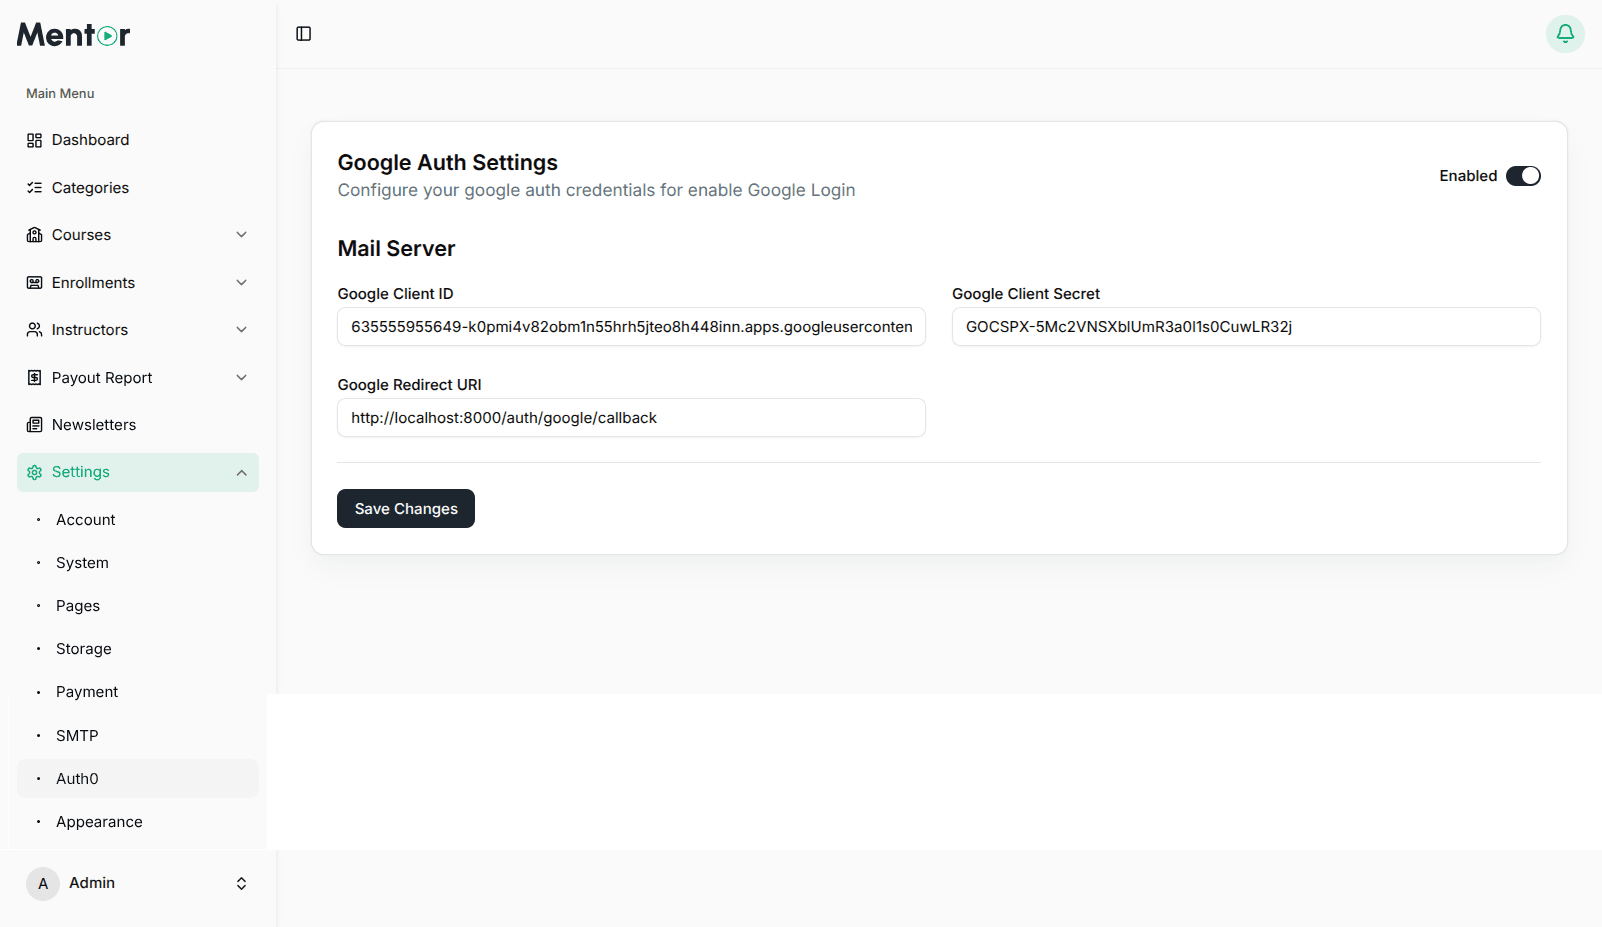
Step 4: Configure in Mentor LMS
- In Social Login Settings, toggle Enable Google Login to Yes
- Enter Client ID and Client Secret
- Verify the Callback URL is pre-filled correctly
- Click Save Changes
Troubleshooting
- Verify Credentials — Double-check Client ID and Client Secret
- Check Redirect URI — Ensure the callback URL exactly matches your LMS configuration
- OAuth Consent Screen — Complete the consent screen setup fully
- HTTPS Required — Google OAuth requires HTTPS for production
- Published Status — Testing-status apps only allow authorized test users
Security Considerations
- Never expose your Client Secret in client-side code
- Only request the user data you actually need (
email,profile) - Update your Privacy Policy to reflect data collected via Google Auth
- Periodically review who has access to your Google Cloud project